Chess Pie Recipe

  Chess Pie

3 eggs
1 1/2 c. sugar
3 T melted butter
1 T white corn meal
1/2 c. buttermilk
1 1/2 t. vanilla extract
1 (9 inch) pie shell
 
 
Preheat oven to 375 degrees.  Beat eggs with wire whisk.  Add sugar, butter, cornmeal, buttermilk and vanilla extract.  Mix well.  Pour into an unbaked 9-inch pie shell.  Bake in preheated 375 degree oven for 20 minutes; reduce heat to 350 and continue baking for 25 more minutes.


Peach Pie

Peaches are my favorite summer fruit.  I have memories of picking the white peaches off my uncle’s tree and the sticky juice running down to my elbow.

Peaches are best, I think, just peeled and sliced.  But, sometimes a cobbler or pie is called for!

Peach pie2 Peach pie3 photo (2) photo

Peach Pie

8-10 ripe peaches

1/2 cup sugar

2 T flour

2 Pillsbury pie crusts

Combine peach chunks, flour and sugar in a saucepan.  Cook until the mixture becomes thick.

Pour into one unbaked pie crust.  Top with the second crust.  Prick holes in the crust and top with a little butter and sugar.

Bake at 350 degrees until crust browns, approx. 20-30 minutes.

Zucchini Bread

The zucchini are now coming in from our garden.  I have sautéed and fried them, but by far our favorite way to eat them is in bread.  This bread is so sweet, moist and delicious.  I doubled the recipe and froze four loaves.

I just used an old fashioned grater for grating the zucchini.  Watch your fingers and knuckles, though!

The batter is very thick.
Banana Bread
Zucchini Bread

2 2/3 cups sugar

2/3 cups shortening

3 cups shredded zucchini (about 2 medium)

2/3 cup water

4 eggs

3 1/3 cups all purpose flour

2 teaspoons salt

1 teaspoon ground cinnamon

1 teaspoon ground cloves

1/2 teaspoon baking powder

2/3 cup coarsely chopped nuts

2/3 cup raisins

(I omitted the nuts and raisins)

Heat oven to 350 degrees.  Grease bottoms only of 2 loaf pans.  Mix sugar and shortening.  Stir in zucchini, water and eggs.  Mix in flour, baking soda, salt, cinnamon, cloves and baking powder:  stir in nuts and raisins.  Pour into pans.  Bake until wooden pick inserted in center comes out clean, 60-70 minutes;  cool 5 minutes.  Loosen sides of loaves from pans;  remove from pans.  Cool completely before slicing.

Recipe from Betty Crocker’s Cookbook

Chicken and Dumplings

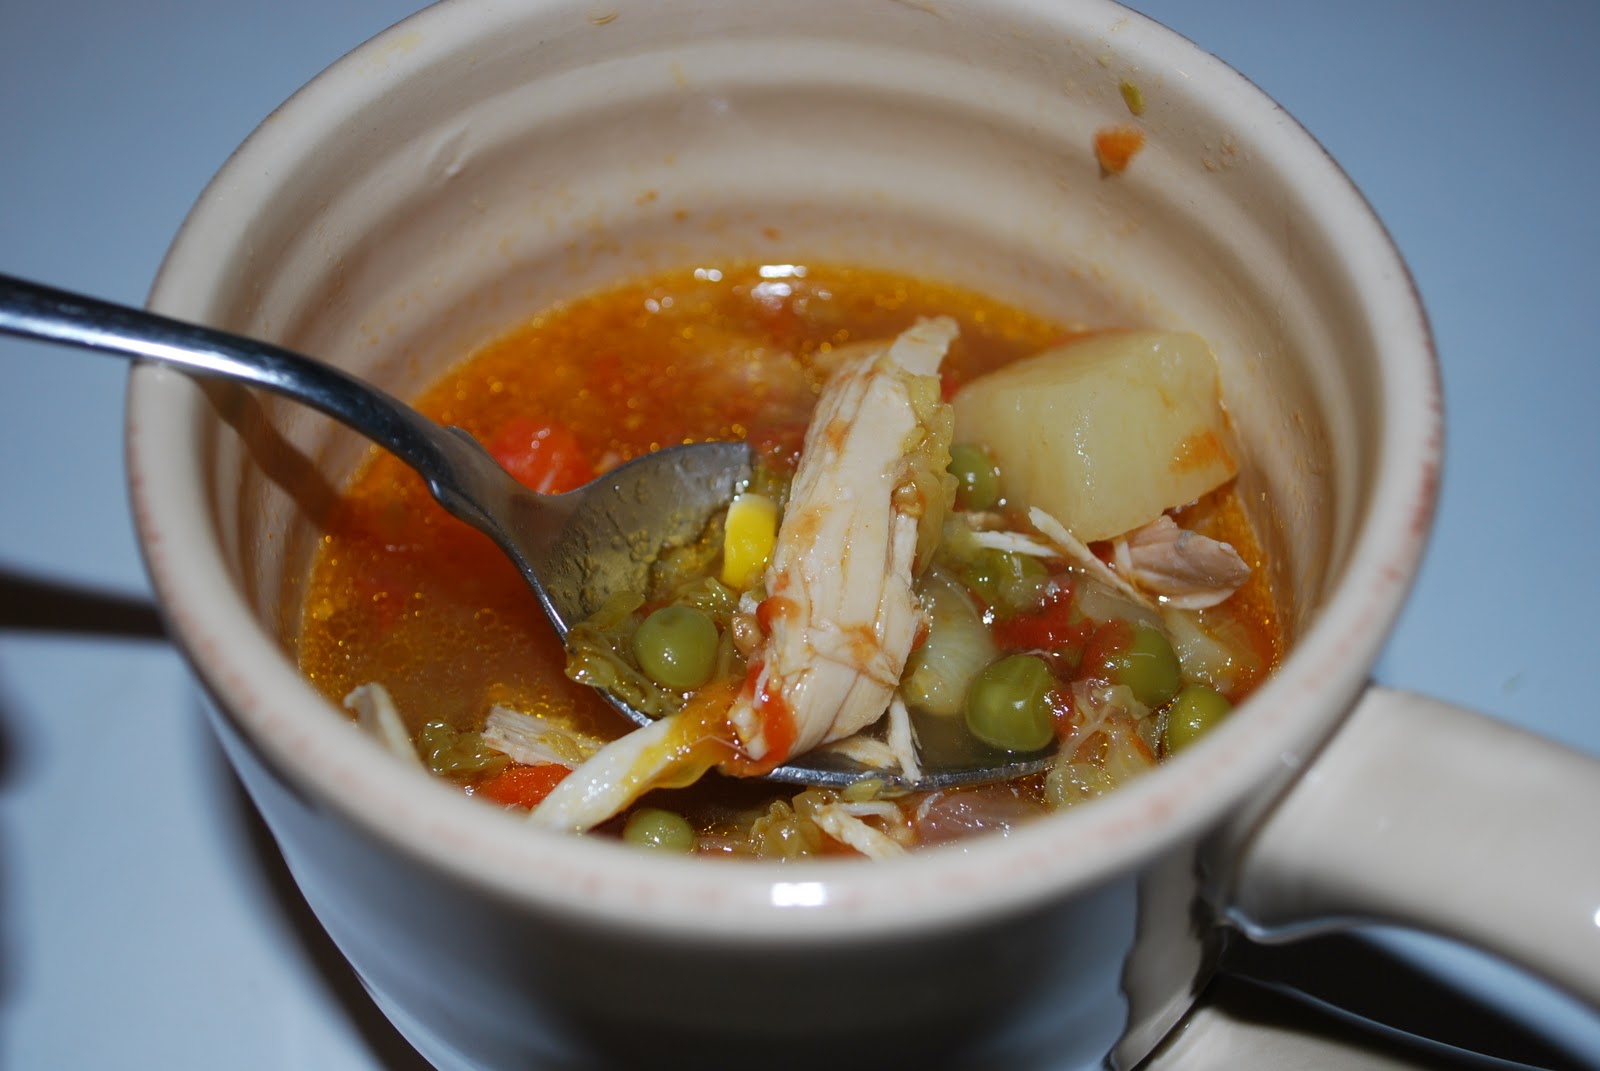
Today is a good day for chicken and dumplings.  It’s cold and rainy….and it’s Monday.  Comfort food is on the horizon for tonight.

There are just a few little tricks for making chicken and dumplings from scratch:

*  Use a big, fat hen.  This will give more flavor to the dish.  I boil the whole hen on medium/low for a couple of hours and then let it sit in the broth.  It will fall off the bone at that point.

*  Let the dumplings cook in the broth until they have a slick look and feel.  This is one of the things that frustrated me until I realized what I was doing wrong.  If they’re not cooked long enough, they will be fat, doughy and chewy.

*  Use plain flour and water for the dumplings.  That’s it!
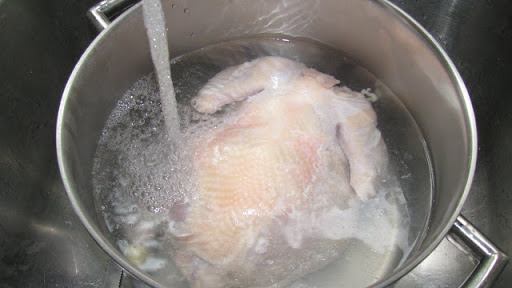
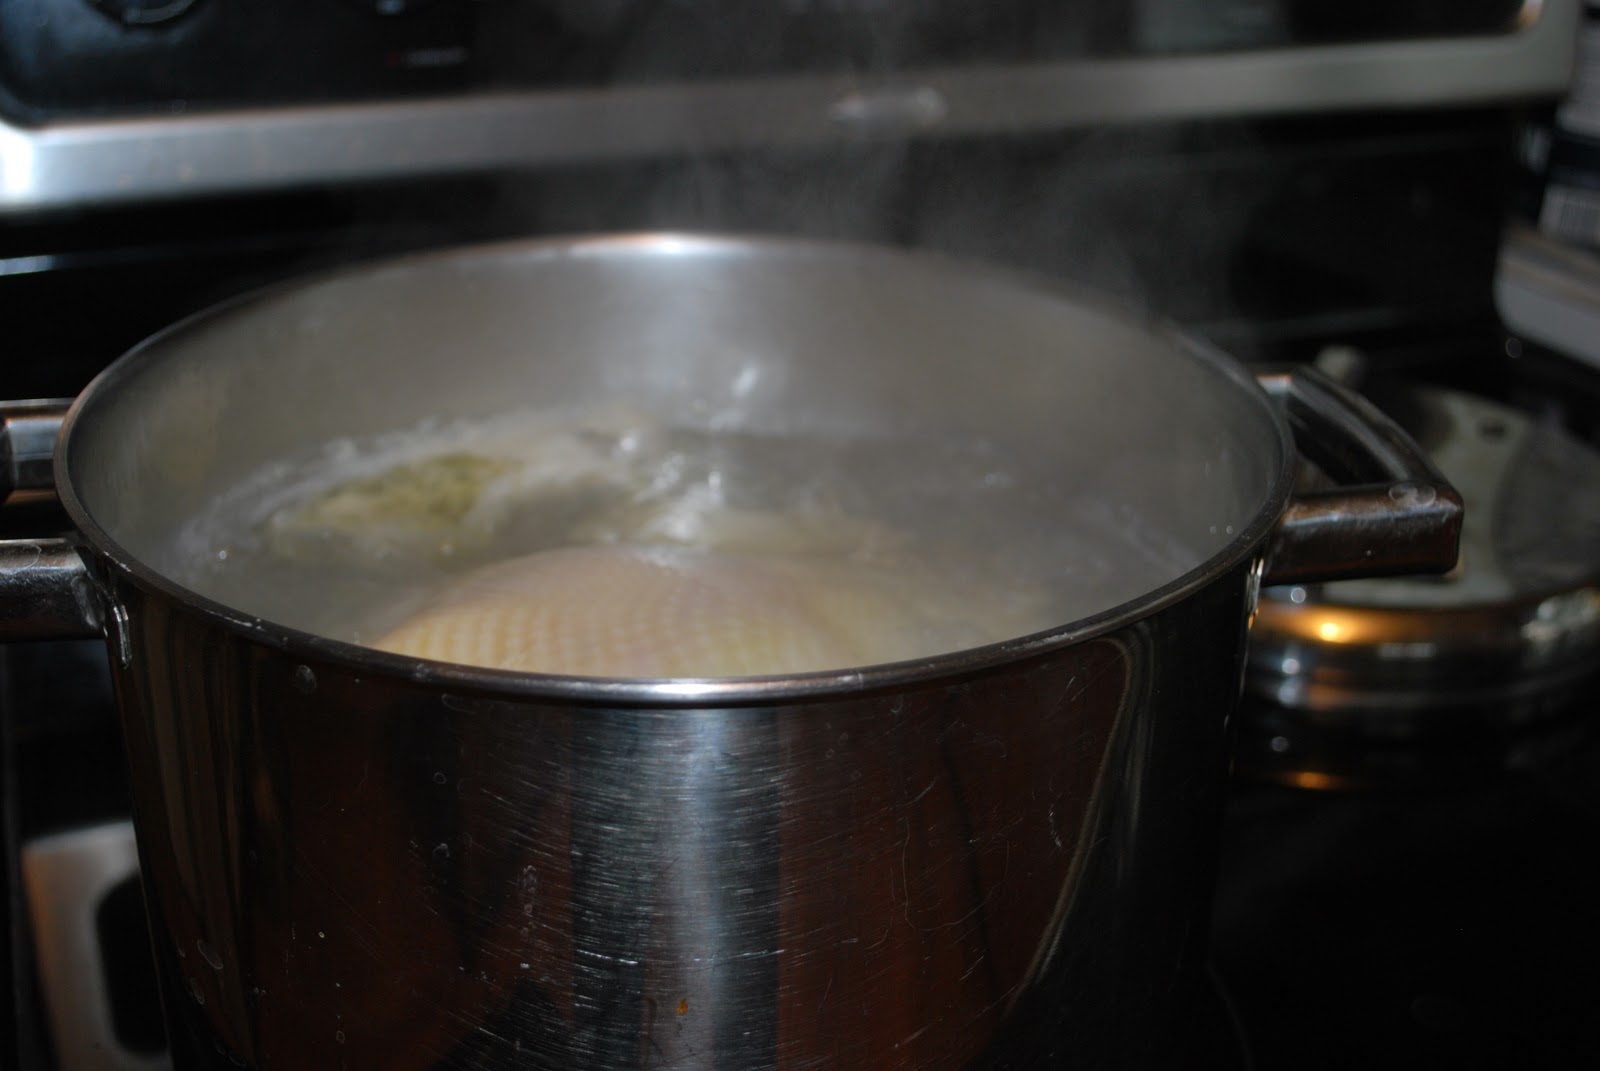
Step 1

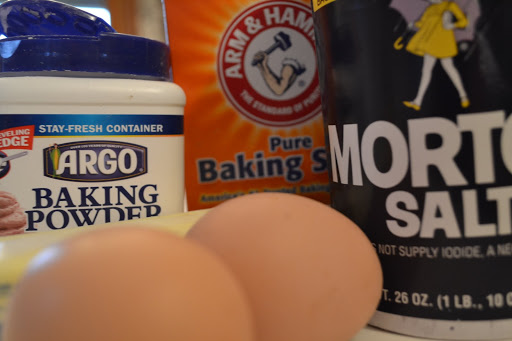
Cook the hen in boiling, salted water.  When it has finished cooking, remove from pot and place in a large dish.  Let cool and start on the dumplings.
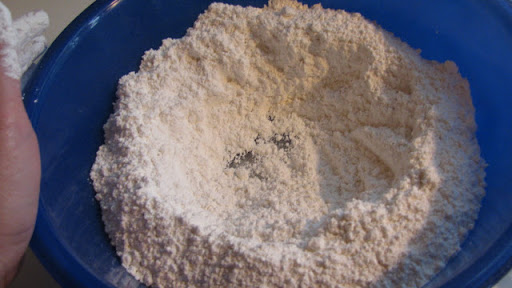
Step 2

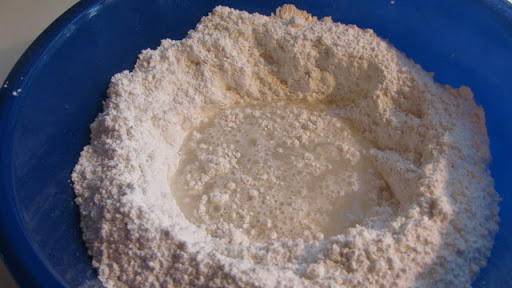
I really don’t measure the flour, but approximately 4 cups for our family.  Make a well in the center of the flour.  This is where you will pour your water to start making the dough.

Step 3

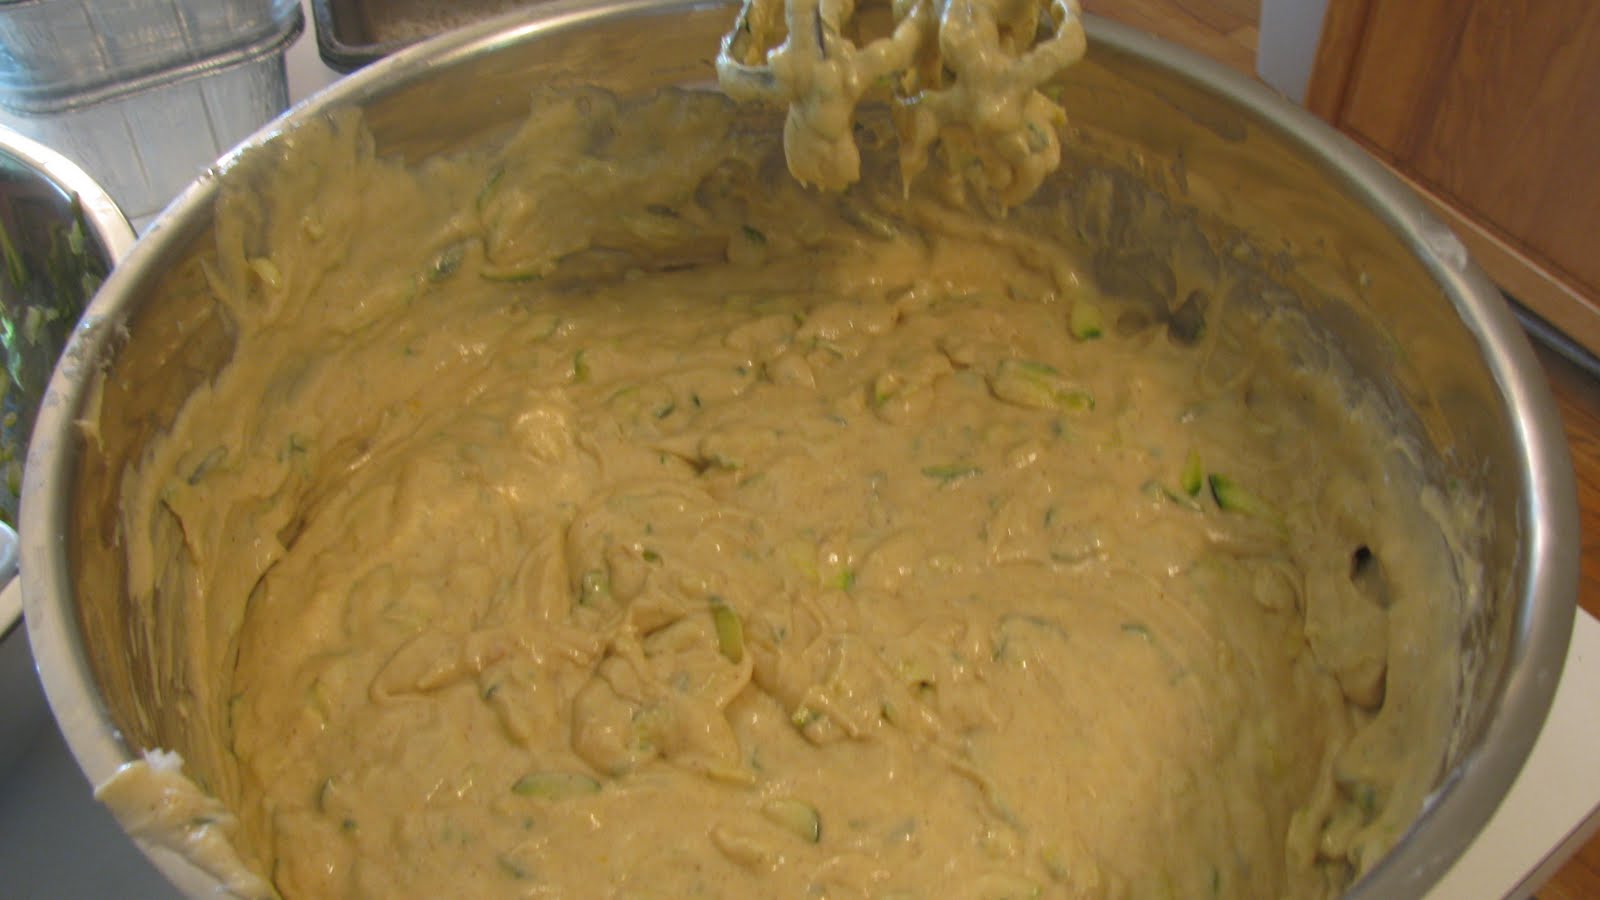
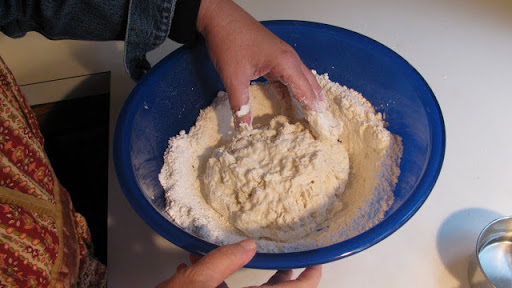
I add one cup of water at a time.  Turn the bowl slowly as you incorporate the flour into the water.  Add more water as needed.

Step 4
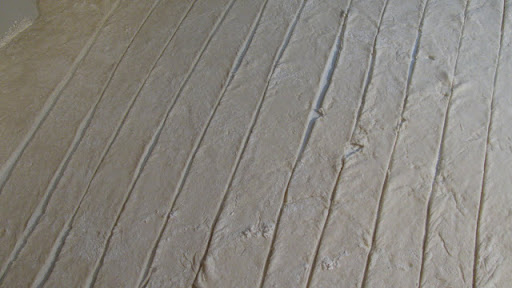
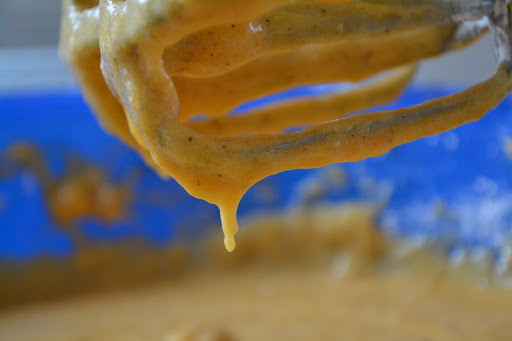
Turn the dough out onto a floured surface.  Keep plenty of extra flour on hand for your rolling pin.  Roll the dough as thin as possible.  Cut into strips.  I cut these once more across.  Take a thin spatula or knife to gently lift the dumplings off the surface and place them in the boiling broth.
Step 5
They take a long time to cook.  I haven’t really timed it, but let them cook until they take on a shiny, slick texture.  If they taste gummy or doughy, they are not done.  I also add a little chicken bouillon to make it have a little deeper chicken flavor.
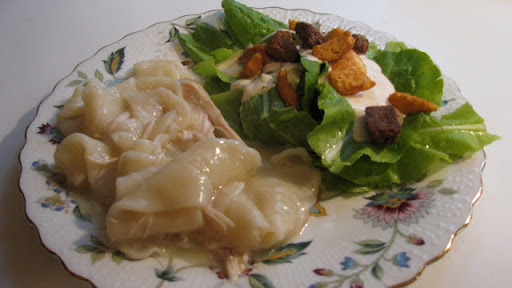
When the dumplings are cooked, add in the deboned chicken.
Enjoy!

Pumpkin Bread

The kids are always appreciative when there is a snack waiting for them when they get home from school.  Walking in the door and smelling something warm just from the oven can even put a smile on a grumpy teenager’s face.  The thank you’s and hugs make me glad I took the extra time.
Warm bread is always a hit, especially pumpkin or banana.
Pumpkin Bread
(from the Betty Crocker Cookbook)
2 2/3 c sugar
2/3 c shortening
1 can pumpkin
2/3 c water
4 eggs
3 1/3 c all purpose flour
2 t. baking soda
1 1/2 t. salt
1 t. ground cinnamon
1 t. ground cloves
1/2 t. baking powder
Heat oven to 350 degrees.  Grease bottoms only of loaf pans (I use 3).  Mix sugar and shortening.  Stir in pumpkin, water and eggs.  Mix in flour, soda, salt, cinnamon, cloves and baking powder.  Bake until wooden pick inserted in center comes out clean, 60-70 minutes.
.

Chicken Soup

It’s a chicken soup kind of day!
Boil a whole chicken in salted water.  I like to put the lid on it and simmer it for a couple of hours.  That makes it really tender and keeps it moist.
Add onions, celery and about 3 chicken bouillon cubes while the chicken is cooking….

After the chicken has cooked, remove it from the pan and let it cool.  Now, it’s time to start adding the vegetables.  I add frozen corn, frozen green peas, potatoes, savoy cabbage (1/2 head) and a jar of home canned tomatoes.  If you don’t have home canned, a couple of cans of whole tomatoes will work fine.

Veggies ready to be chopped
I add 1/2 head of Savoy cabbage.  It cooks down and you can’t even tell it’s in the soup, but it adds a nice flavor.
Add a jar of home-canned tomatoes (or whole canned tomatoes from the store)
Fresh carrots – about 3
A couple of potatoes
Frozen peas
Frozen limas
Frozen corn
Chop up the cabbageAfter the chicken has cooked, I turn off the heat and let it sit for about an hour with the lid on.  This makes it nice and tender.  Then, I remove the chicken from the broth and add the vegetables.  After the vegetables have cooked, I add the deboned chicken back to the broth.  Salt and pepper to taste.
Of course, you can add any vegetables that you like:  green beans, field peas, okra (which I always add, but completely forgot about today).
Hope you enjoy!

Banana Bread


Yesterday was a banana bread kind of day.  It was sleeting and cold and the bread baking made the house smell wonderful.  We’re not big banana eaters.  When I buy a bunch, they just sit on the platter.  Waiting to be made into bread, I guess.

 
Someone got me this Betty Crocker’s Cookbook for a wedding present and it has been one of the best gifts I received.  Hey, I may just buy about 8 of these for all the weddings I’ll be attending this year. 


Before the kids got home…


…and after.


Banana Bread
1 cup sugar
1/3 cup softened butter
1 1/2 cup mashed, ripe bananas
(3 or 4)
1/3 cup water
1 1/2 cups all purpose flour
1 t. baking soda
1/2 t. salt
1/4 t. baking powder
 
Heat oven to 350 degrees.  Grease bottom only of loaf pan. 
Cream sugar and butter.
Stir in eggs until blended.
Mix in bananas and water.
Stir in other ingredients until moistened.
 
8 inch loaf pan, 1 1/4 hours
9 inch loaf pan, 55-60 minutes
 
(I use two pans, so it cuts the time some…)


Growing Home

Southern Cornbread

This is a re-post because it feels like a good day for some Southern Cornbread and maybe some pinto beans!

 Ingredients:
Corn Meal Mix
1 egg
buttermilk
shortening
 
 Put a spoonful of shortening
into your cast iron pan. 
 Heat it in the oven on 425 degrees until it has melted. 
 Keep a good eye on it or it will get too hot!
 Roll the melted
oil around to coat the pan. 
Pour the extra oil into the batter.
 Mix corn meal, buttermilk, egg and melted shortening to make a nice batter.
  Sorry, but I don’t measure this, so I don’t know the exact amount of the ingredients
 – just don’t make it too thick or your cornbread will be dry.
  Not as thick as cake batter…
 Pour into hot skillet and bake @ 425 until the top starts to turn golden brown.
Invert the pan and it should come out nicely. 

It took me a few times to get this down pat,
 so don’t worry if it is dry or doesn’t come out of the pan well. 
 Just keep practicing! 

Canning Tomatoes

It’s that time again!  Tomato season is in full swing!  Fresh, homegrown tomatoes are one of God’s gifts to me.  I’m not a pro at preserving them, by any means, but it is a really easy process.  It takes a few hours, so it’s good to get your supplies organized and plan for at least a half a day or more depending on how many tomatoes you have.
From our garden (2011)

Submerge tomatoes a few at a time into boiling water.  30 seconds should be plenty of time.  There is no need to put them in ice water.  Just let them cool a few minutes before removing the peeling.

As you can see, these skins are ready to slide right off.  Core them, peel and then put into a saucepan.

Wash jars, bands and lids in hot, soapy water.

Sterilize jars and bands (only wash the rubberized lids).

* Cook the tomatoes until they are bubbly.
* Using a wide mouth funnel, ladle the tomatoes into the jars. 
* Using a plastic knife, run down the inside of the jars to remove any air pockets.
* Add a teaspoon each of sugar, salt and lemon juice to the jars after you have ladled in the tomatoes. 
* Wipe the rim clean with a paper towel or cloth.  Put on a hot lid and a sterilized band.
* Put jars into a hot water bath for 10-15 minutes, or follow the instructions on your recipe.
* Remove jars and put on the counter to cool. 
*You will hear a ‘pop’ and that means that the jars have sealed. If  the jar doesn’t seal within a few hours, go ahead and refrigerate and use within a few days.

Finished for the day!  I will use these for soups, spaghetti sauces, chili – the possibilities are endless. 

Happy Canning!

How to Freeze Purple Hull Peas

Canning and freezing have been making a huge comeback in the past few years, especially in the suburban and city populations.  We country girls have always canned and frozen our food.  A bag of frozen peas from the frozen food aisle is good, but doesn’t begin to compare to the freshness of home preserved.  Also, there’s a certain domestic satisfaction that comes with having a full freezer and a fully lined shelf of jams, pickles and tomatoes.  One of the best blogs I have found on food preservation, particularly canning, is www.foodinjars.comI made a little trip to my parent’s home this week and came back with some home-grown tomatoes and two bags of purple hull peas.  If you don’t have a garden or don’t have access to one, Farmer’s Markets are popping up everywhere.  

Freezing peas or any vegetable, for that matter (except potatoes) is such an easy process.  The only real time consuming part is the shelling.

By the time I got around to making a picture, I had already shelled these.  But, this gives you an idea of what to look for if you make a trip to the Farmer’s Market.  Purple Hull really means what it says. 
Beware, though!  Your fingers will turn purple!  It will wear off in a couple of days.
Aren’t they beautiful?  These are just shelled and ready for the freezing process.
Put the peas into a pot of boiling water.  Let them boil for a couple of minutes.
Have a large bowl of ice water ready.  The ice water will cool the peas and stop the cooking process.
Drain the peas in a colendar and then pur them immediately into the ice water.  It won’t take long for them to cool.  Remove the ice with a slotted spoon and drain the peas once more in the colendar.
I have always frozen produce in plastic freezer bags, but this year I found these freezer containers in the canning section.  Leave a little room at the top, because they will expand when they freeze.

 Â